Lijah Light

1 / 5
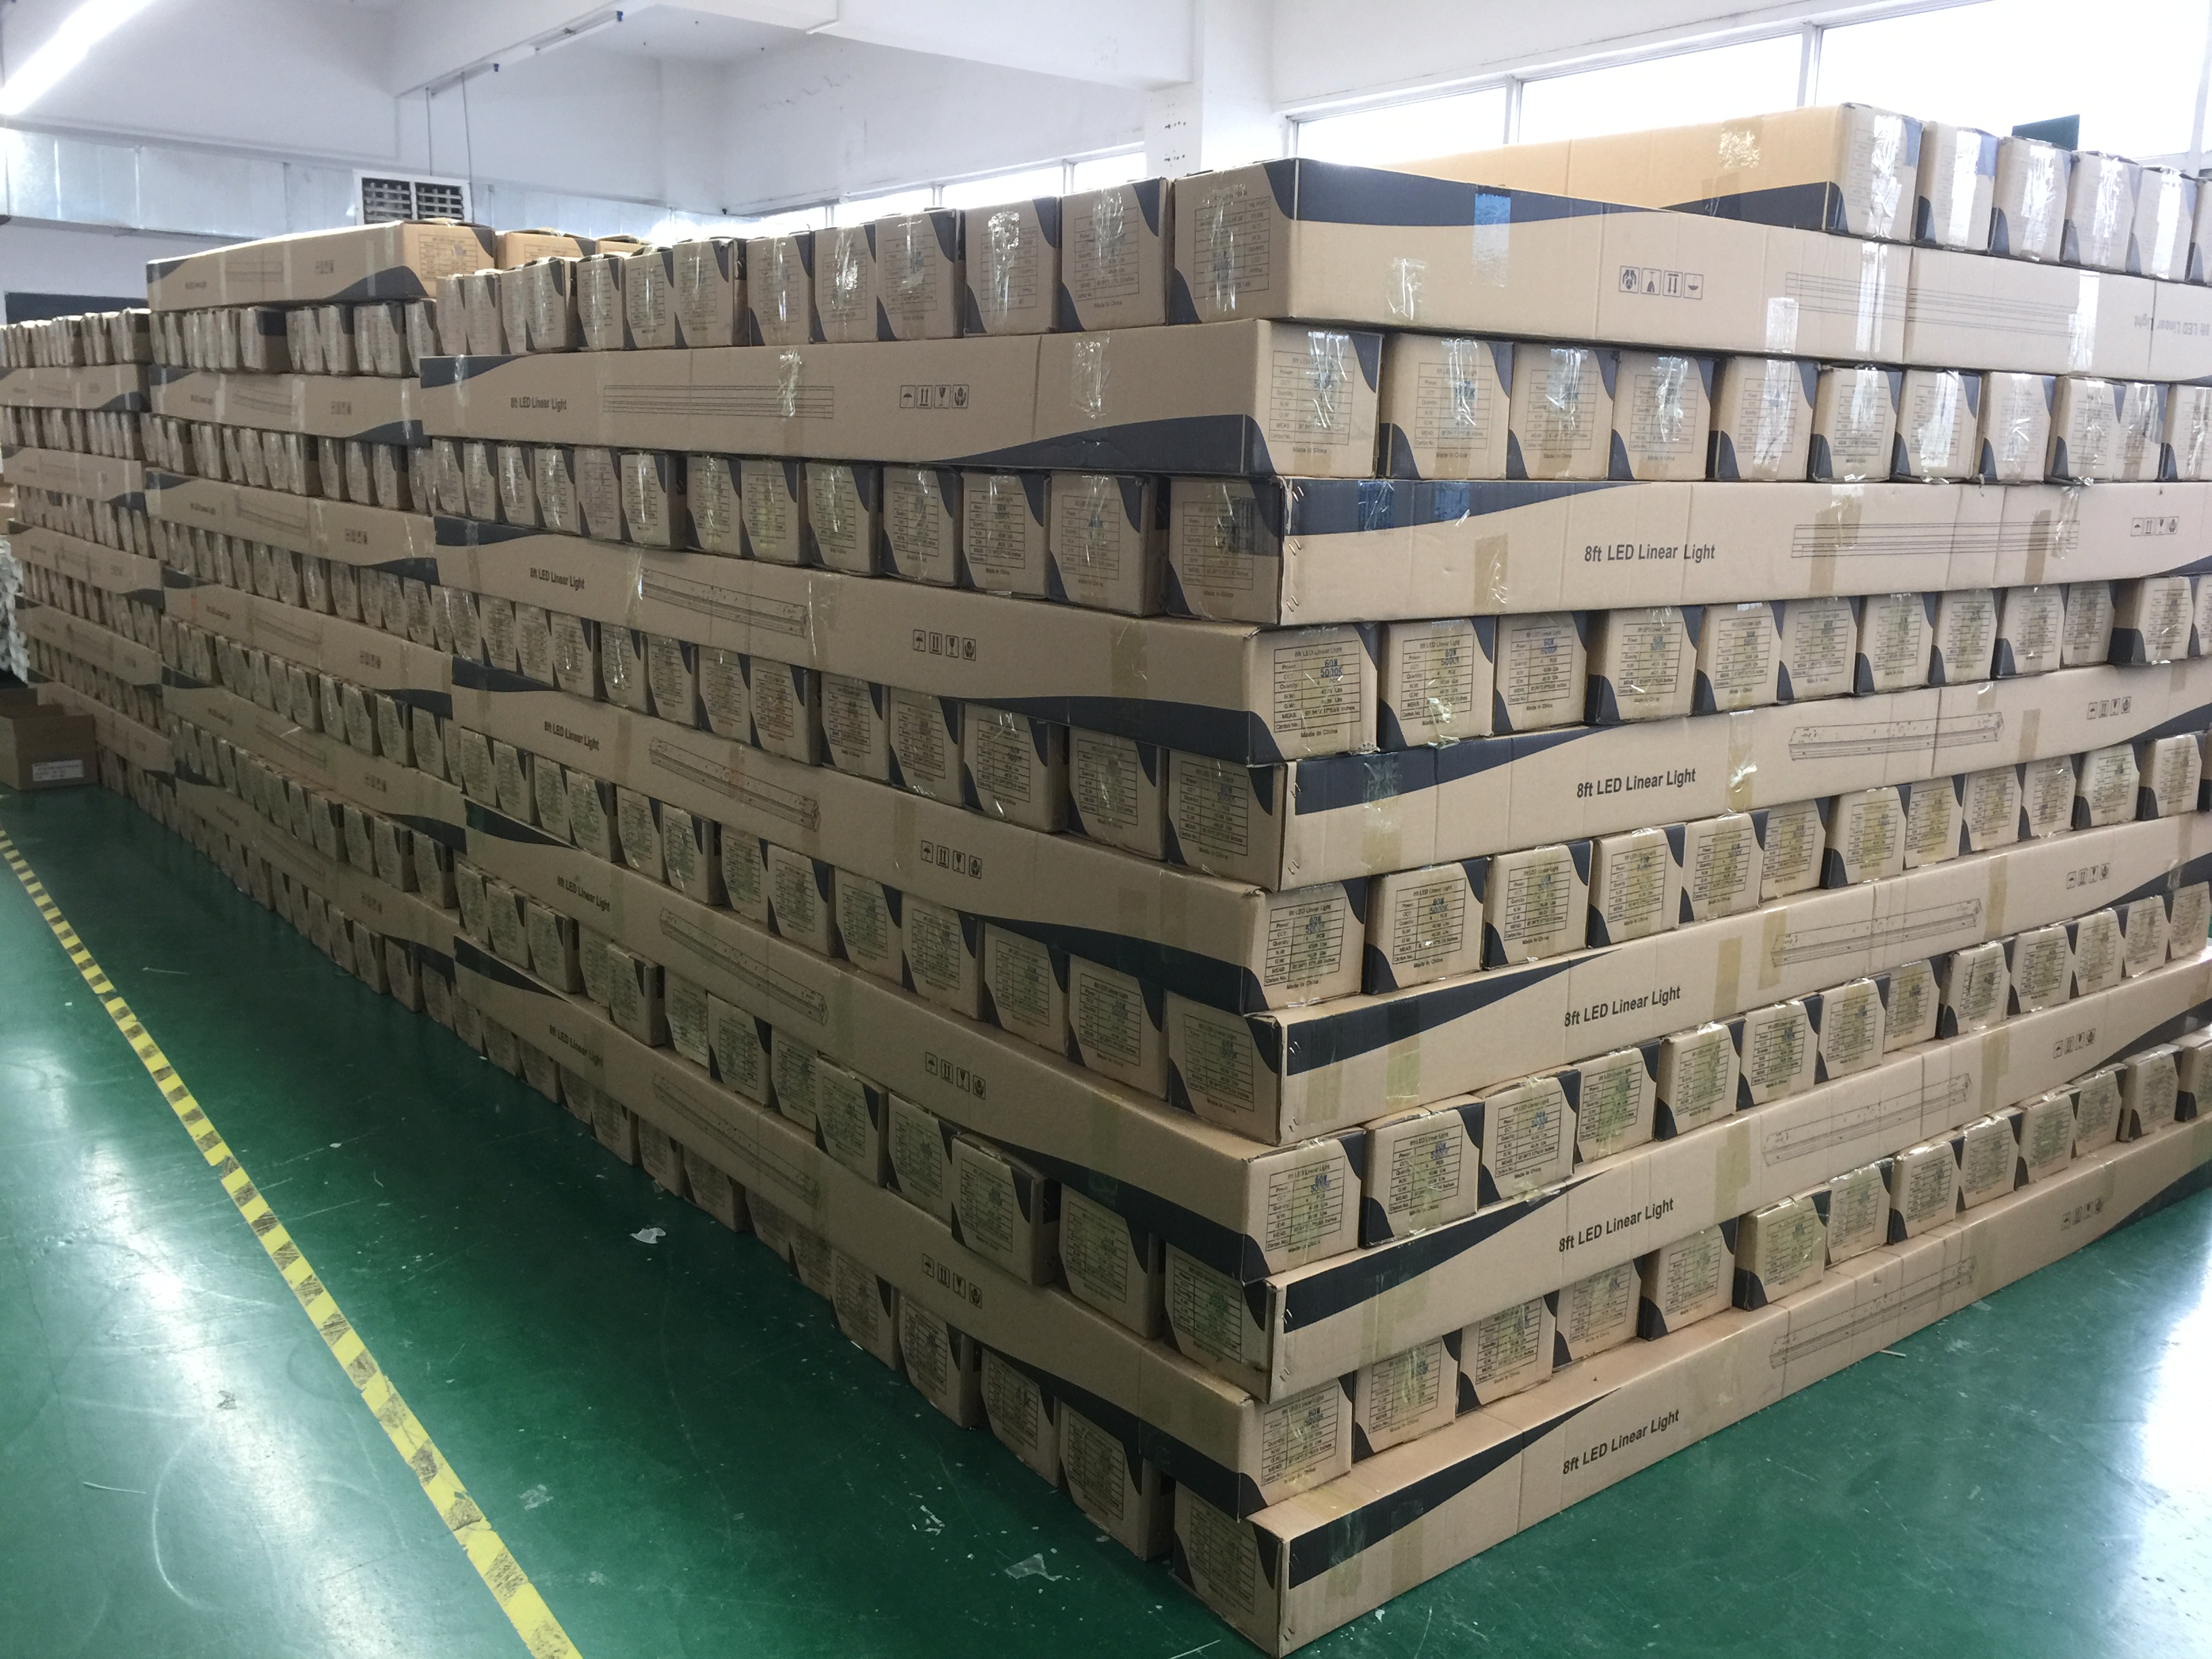
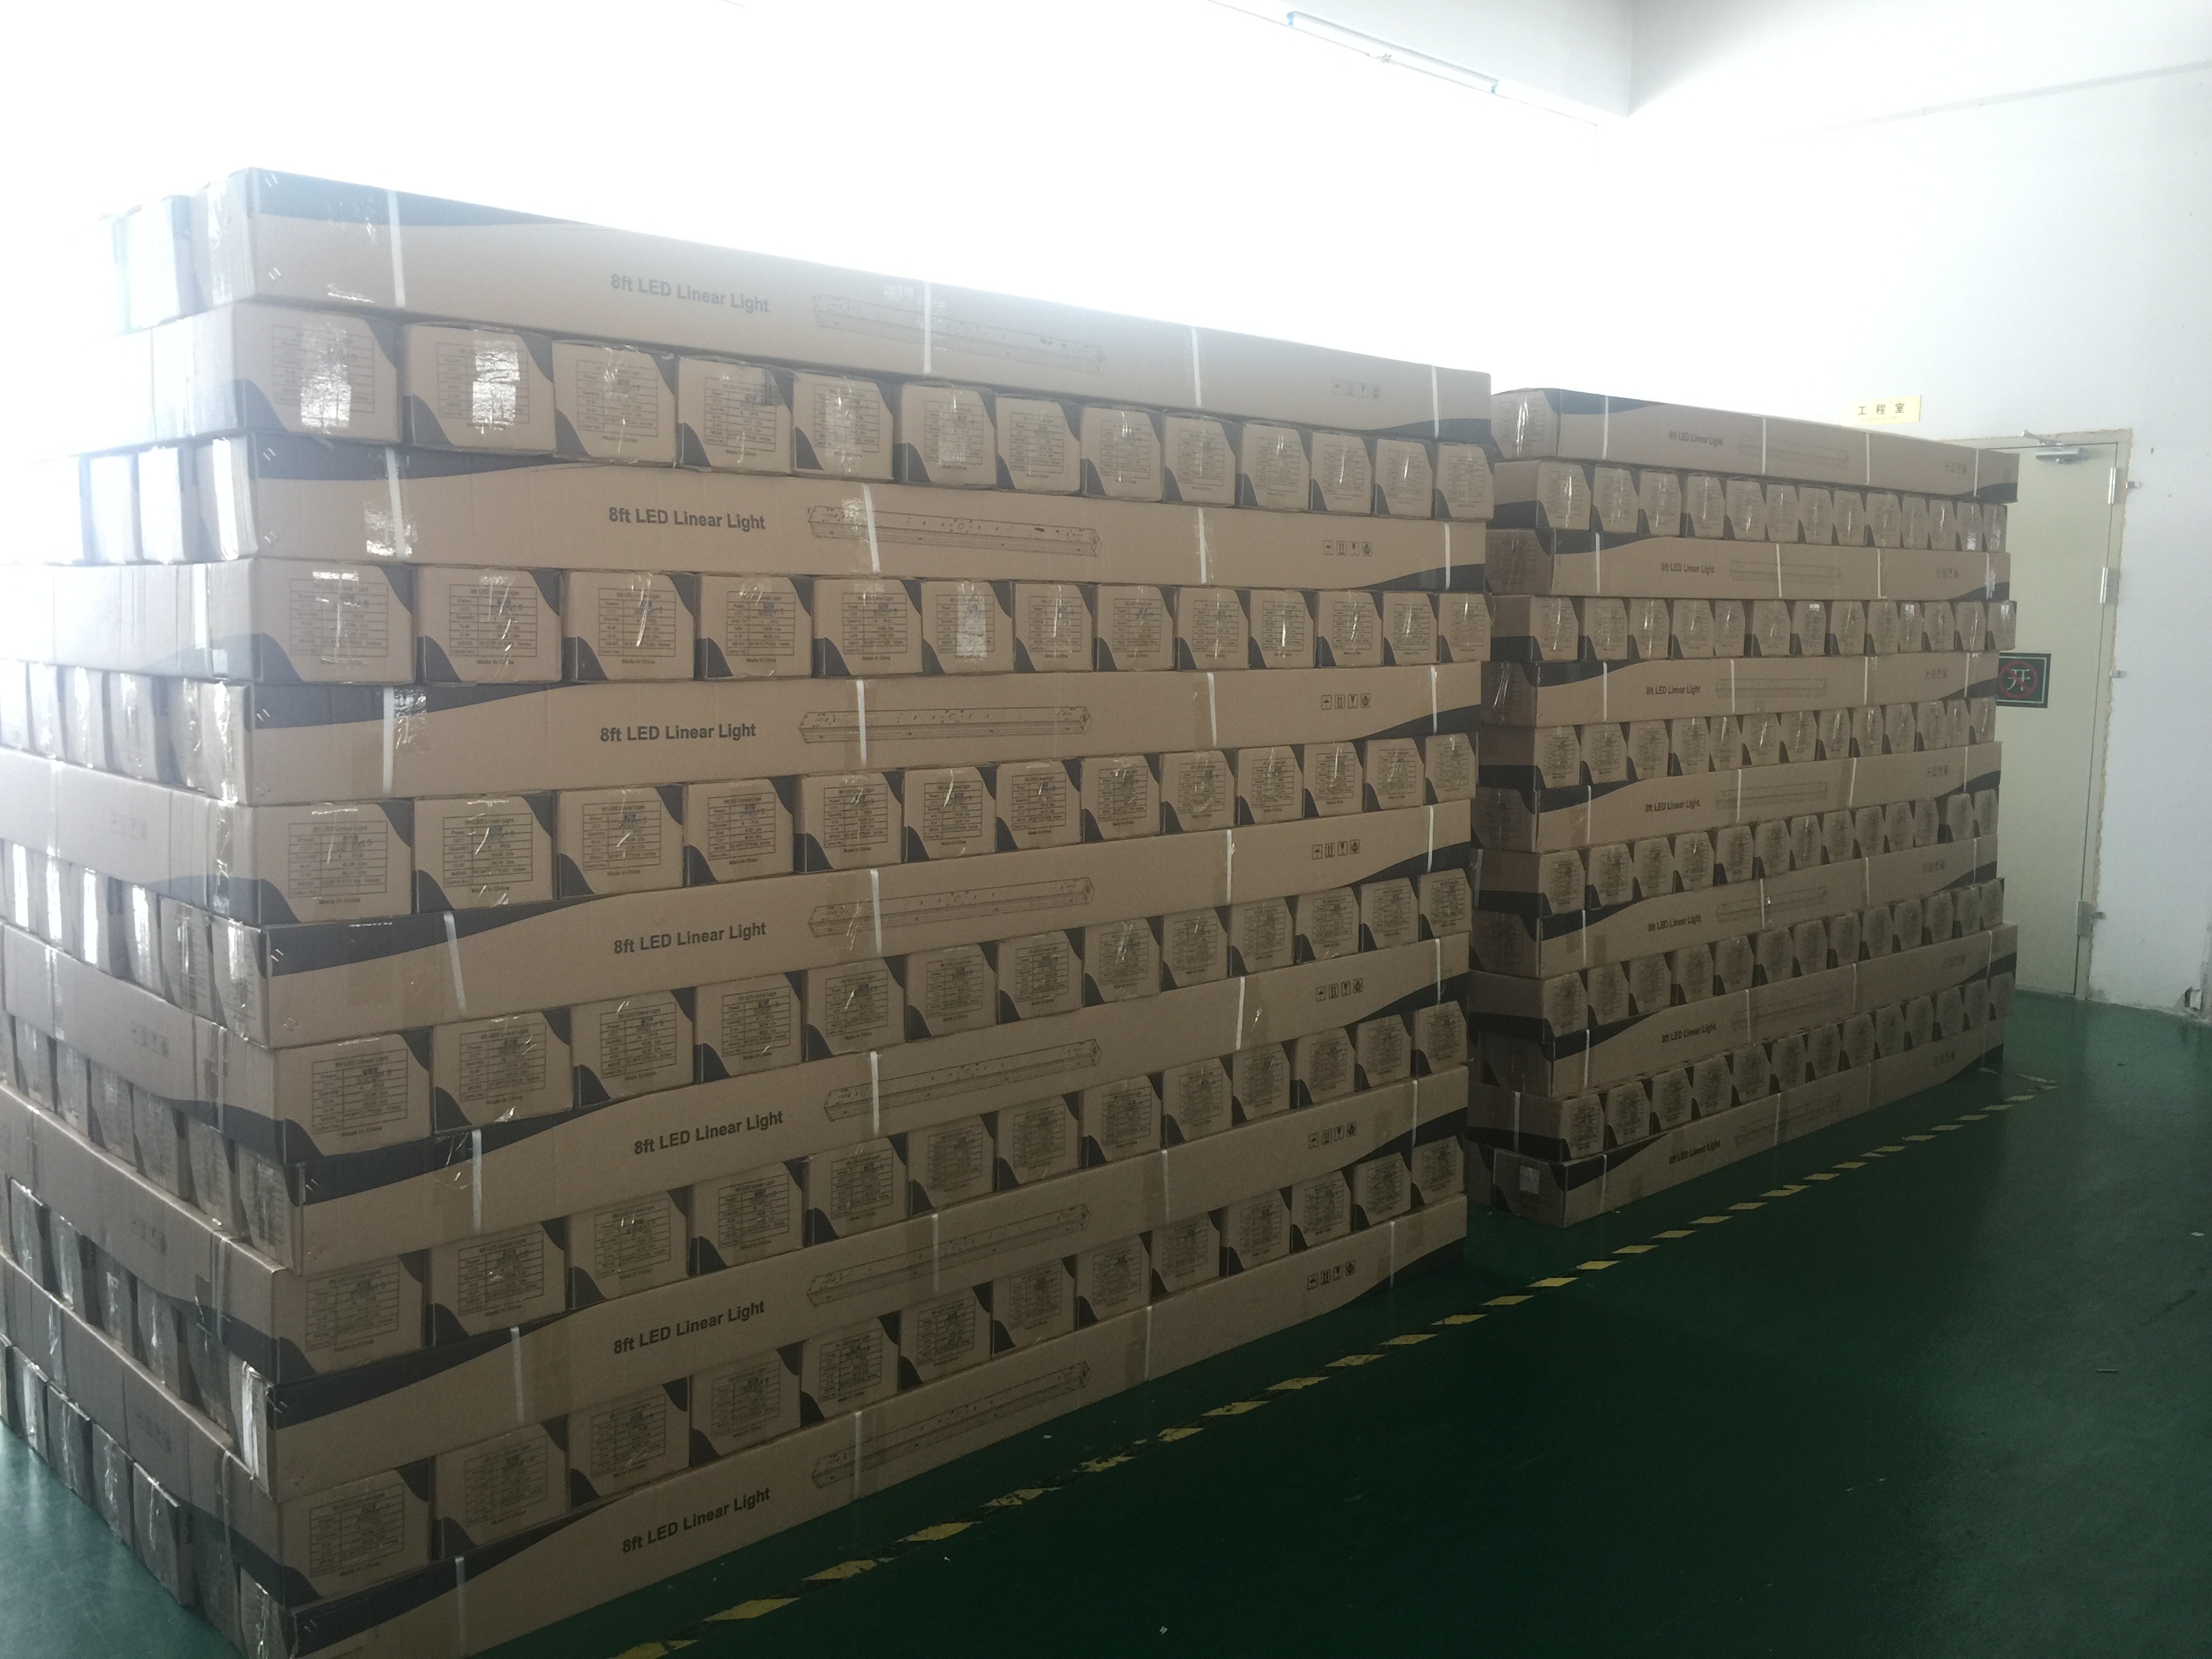
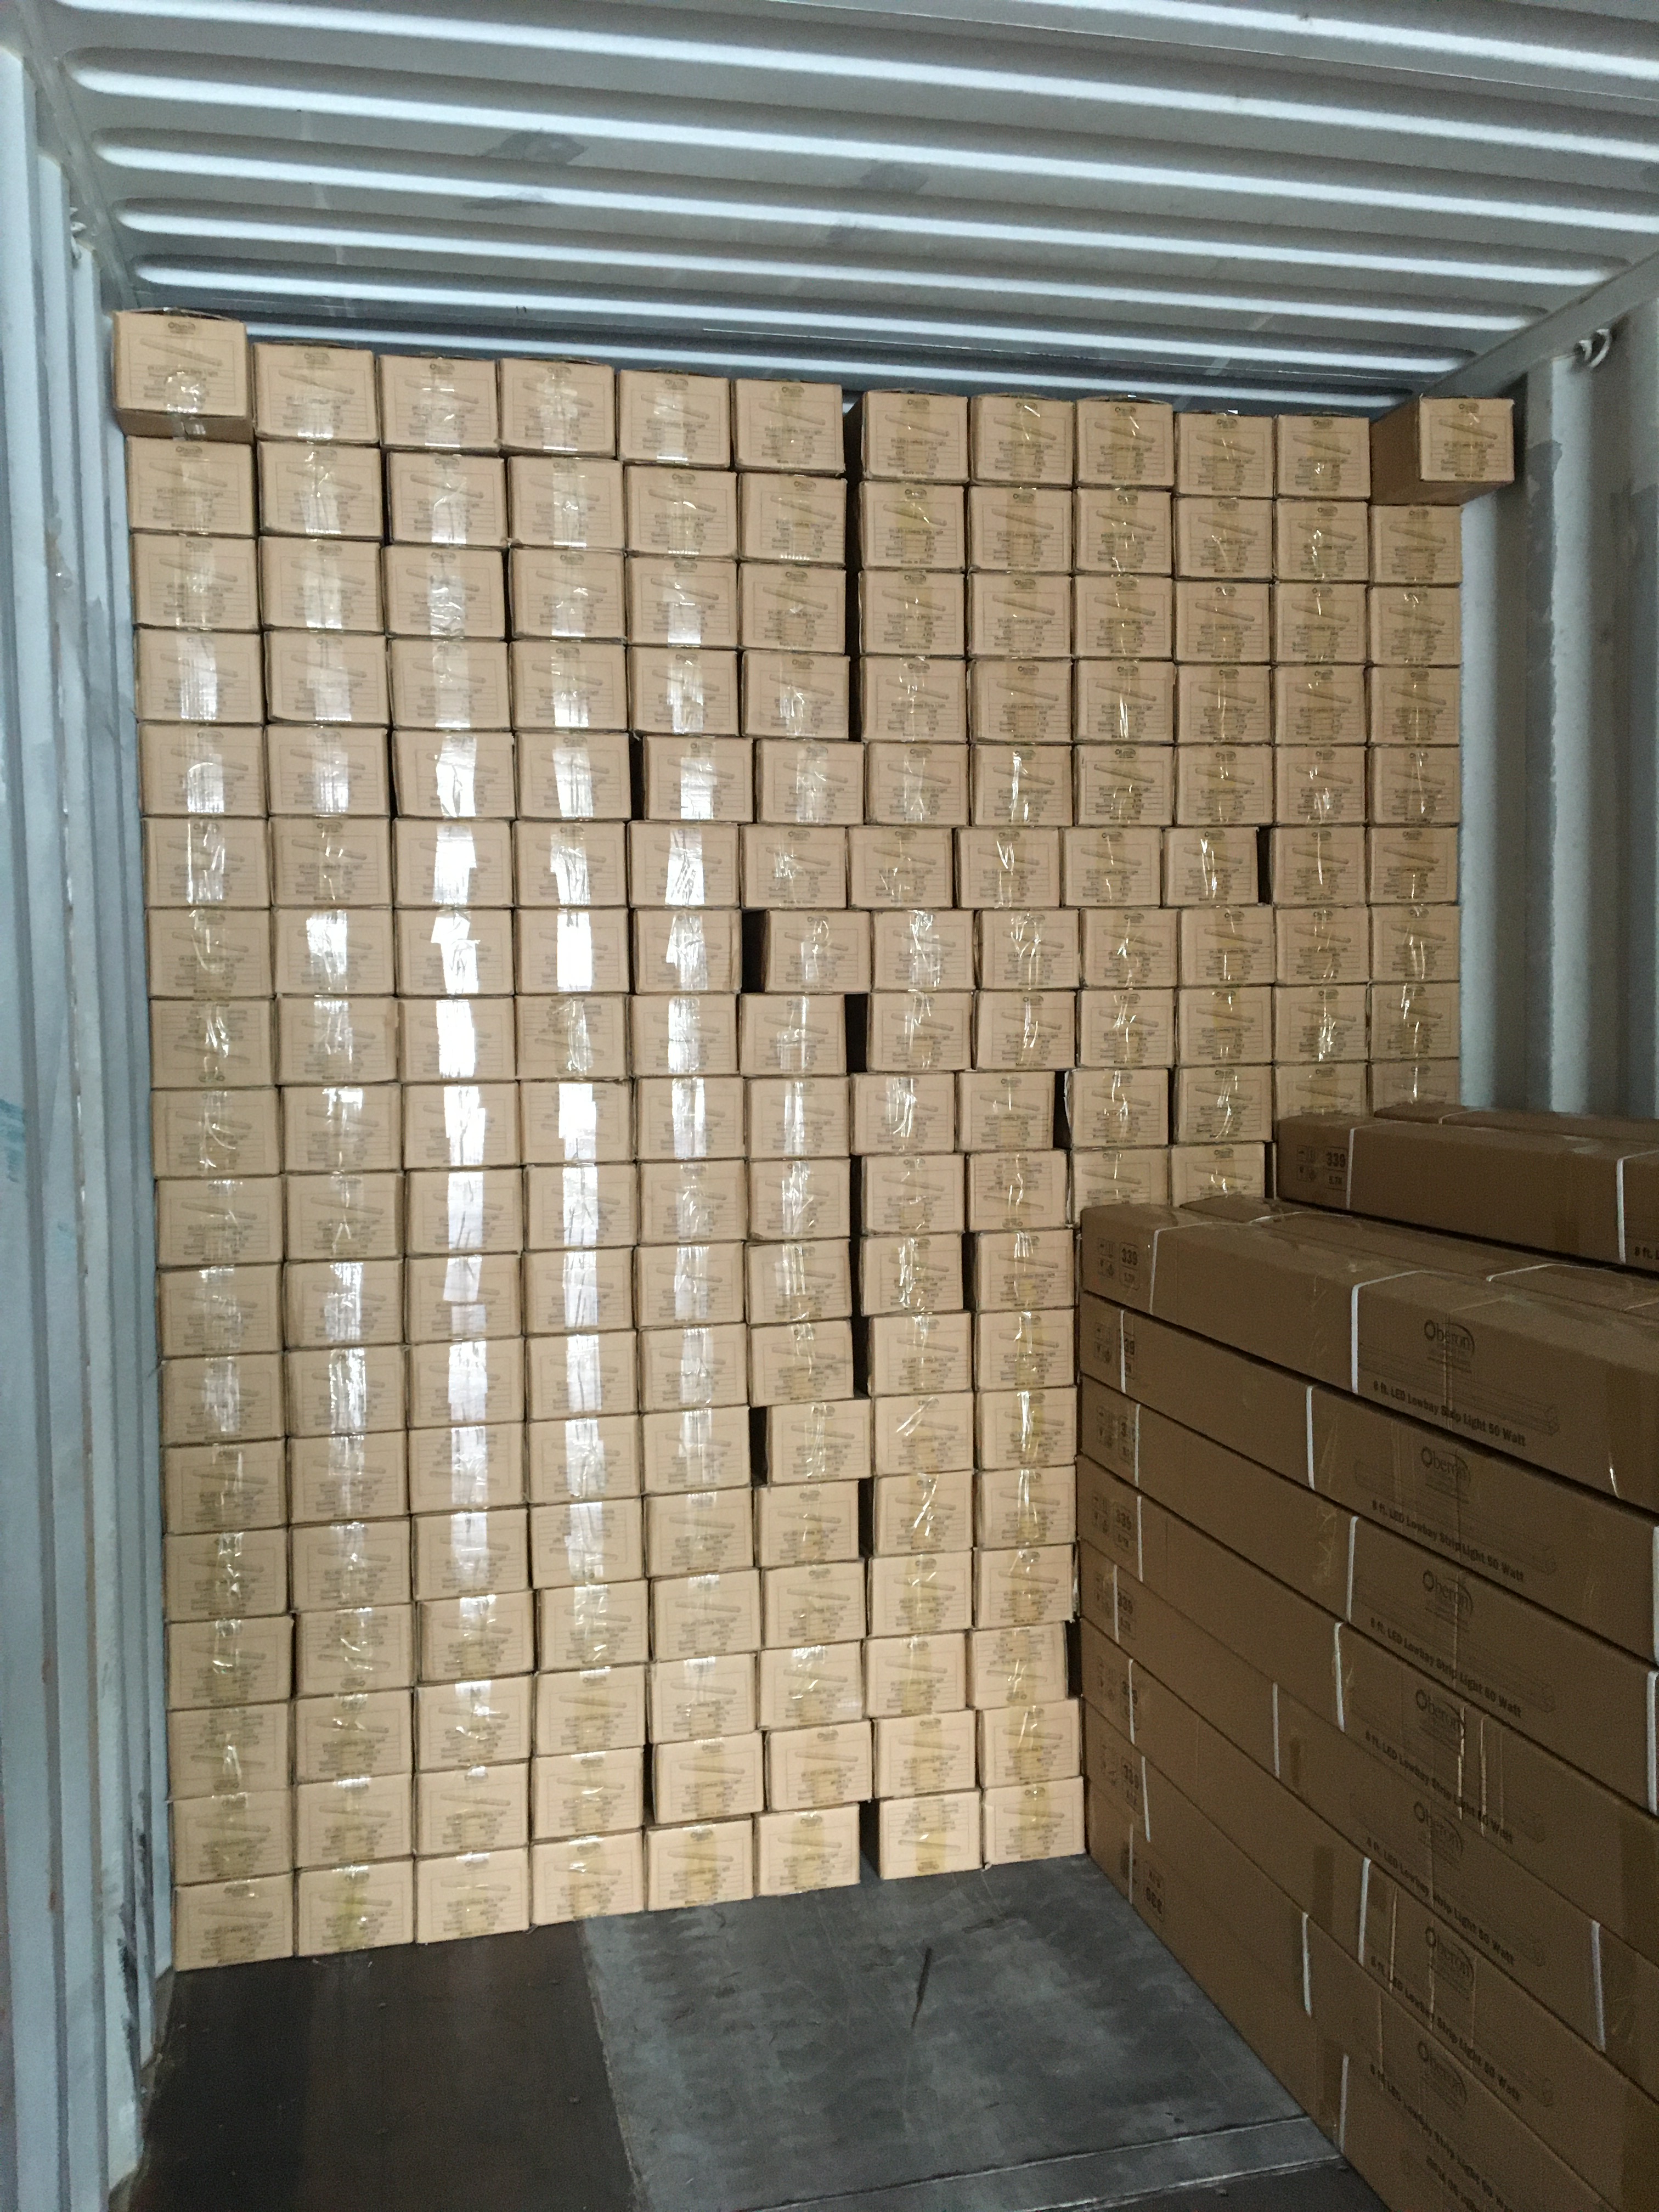
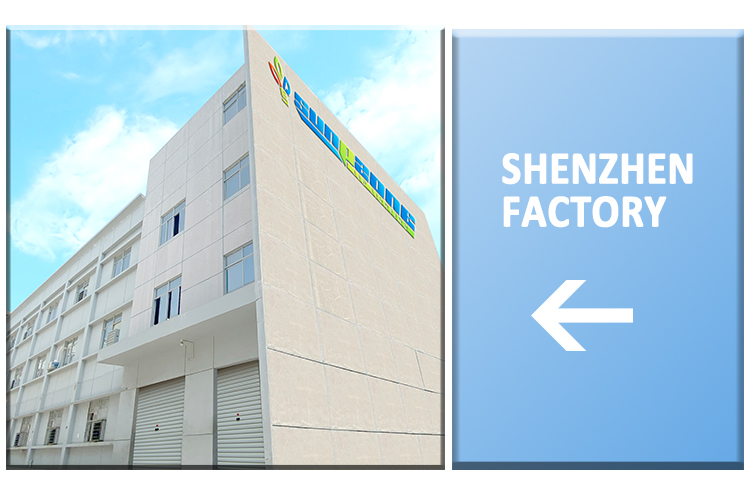
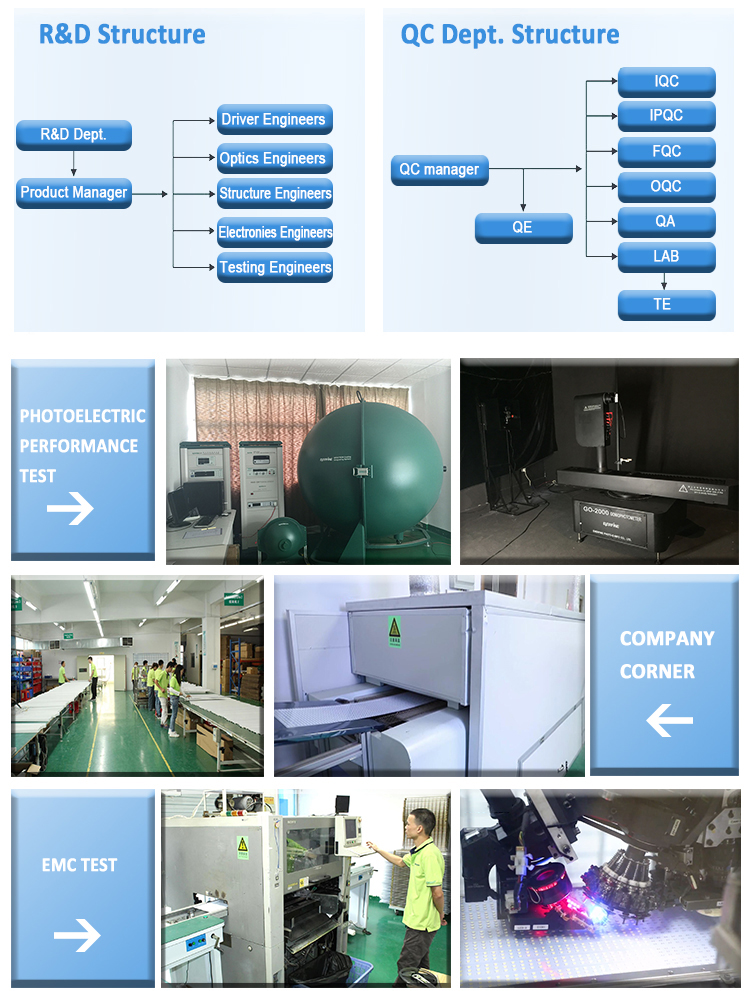
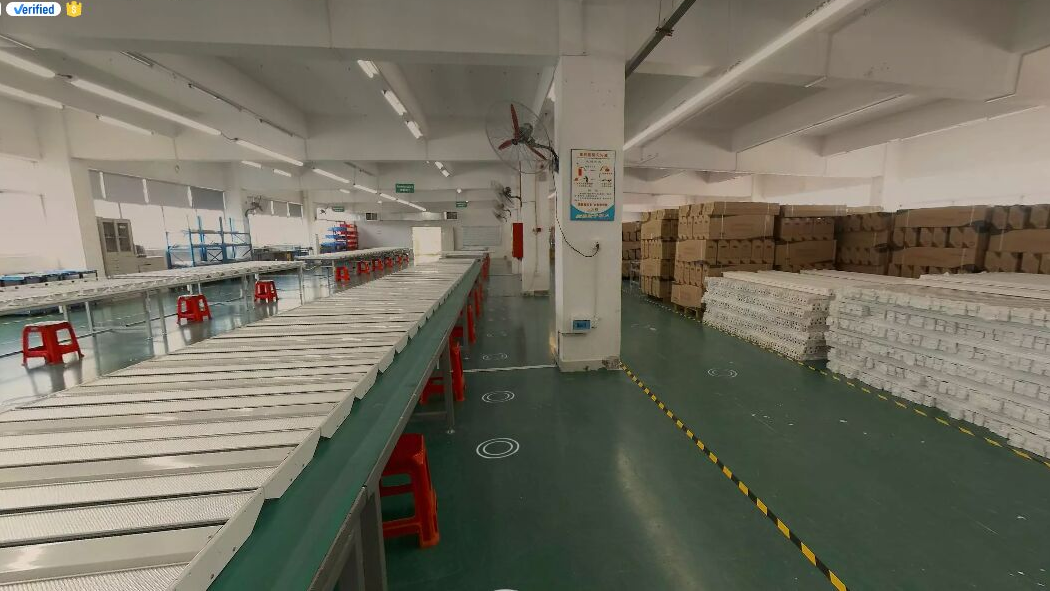
We invited professional auditors to film our factory. Please see below, we'll take you to visit our factory.

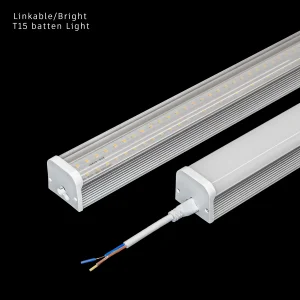
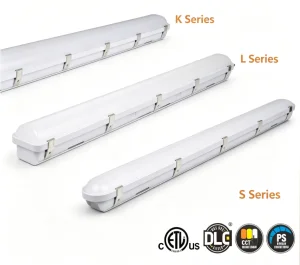
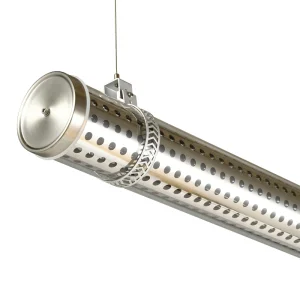
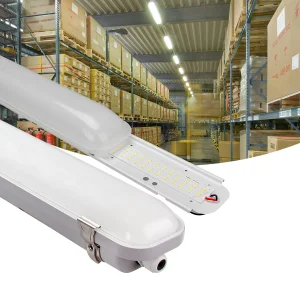
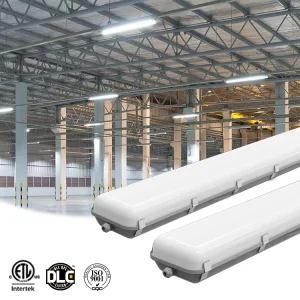
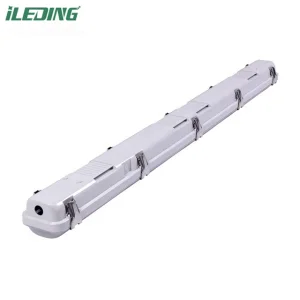
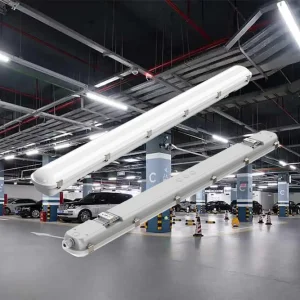
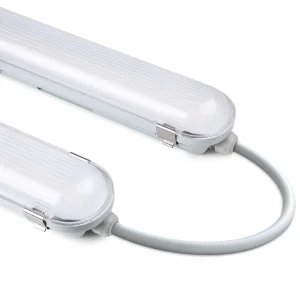
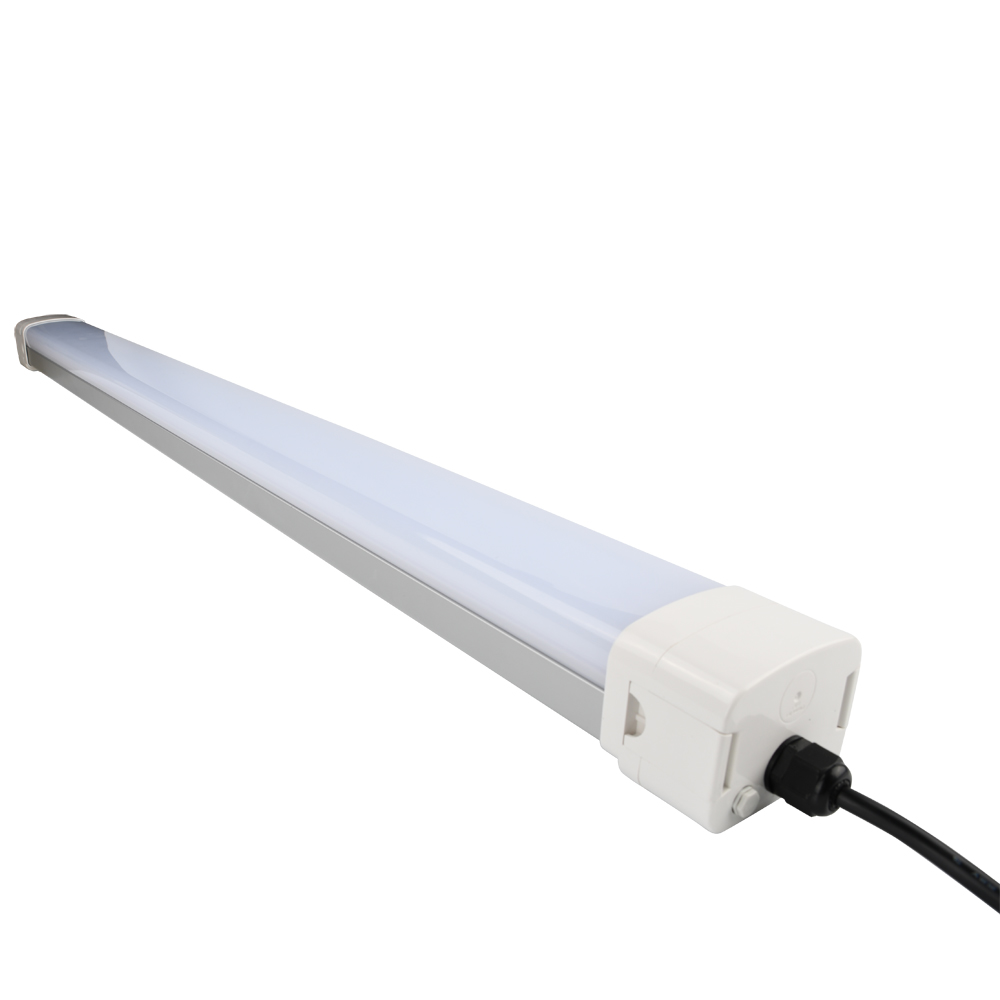
Please view the different products below, you can see the details of different products.



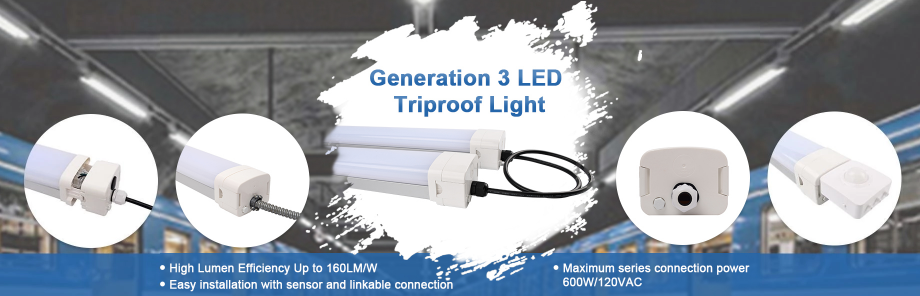
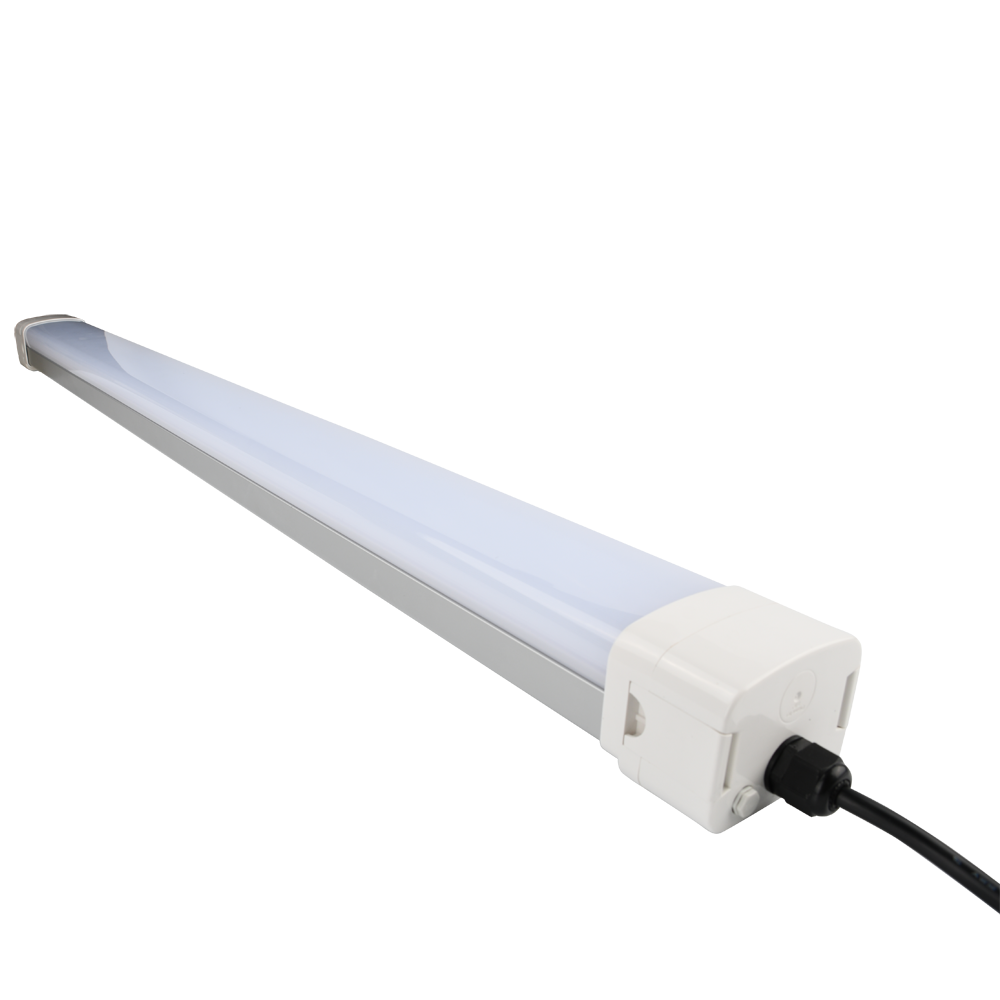
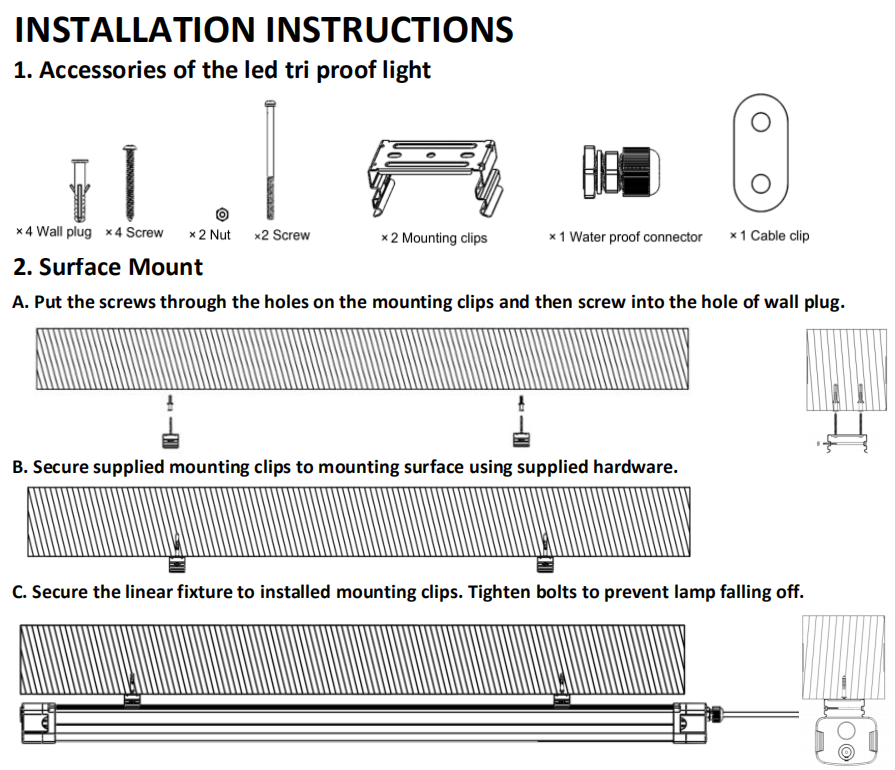
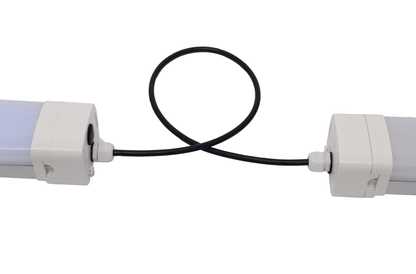
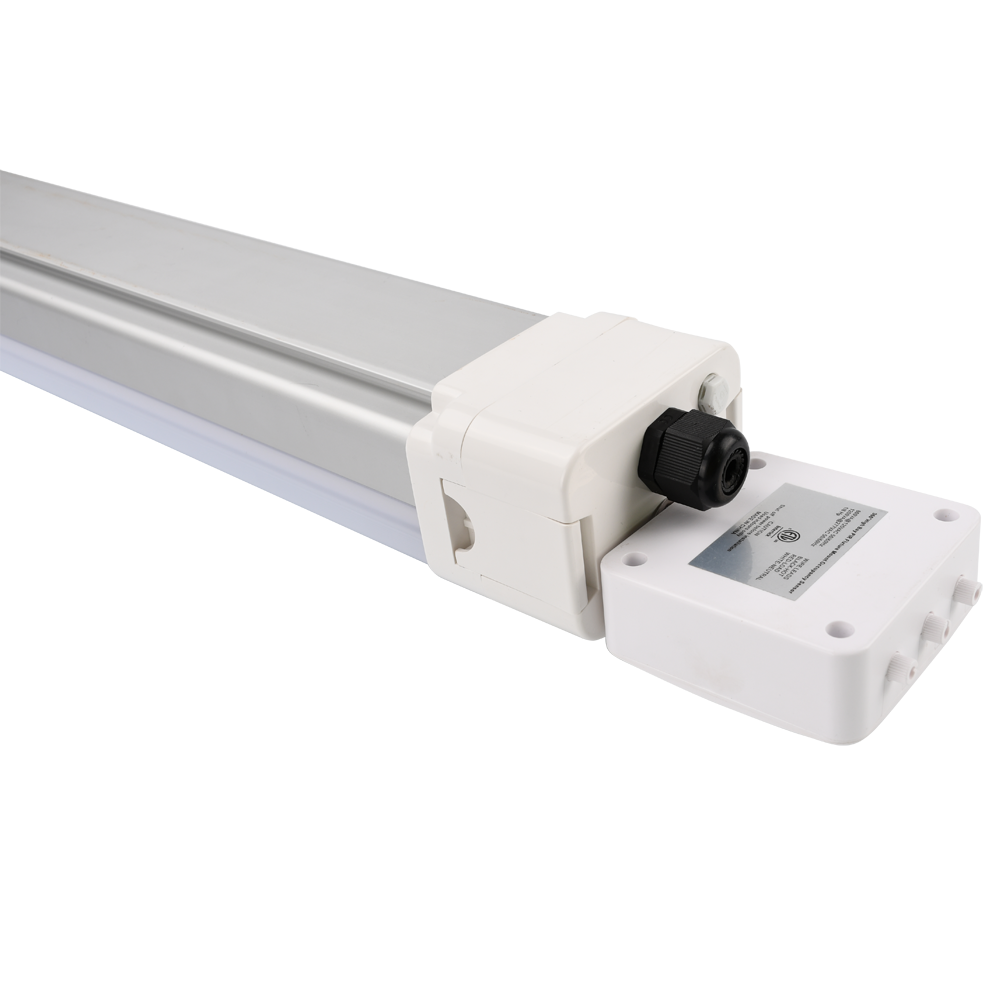
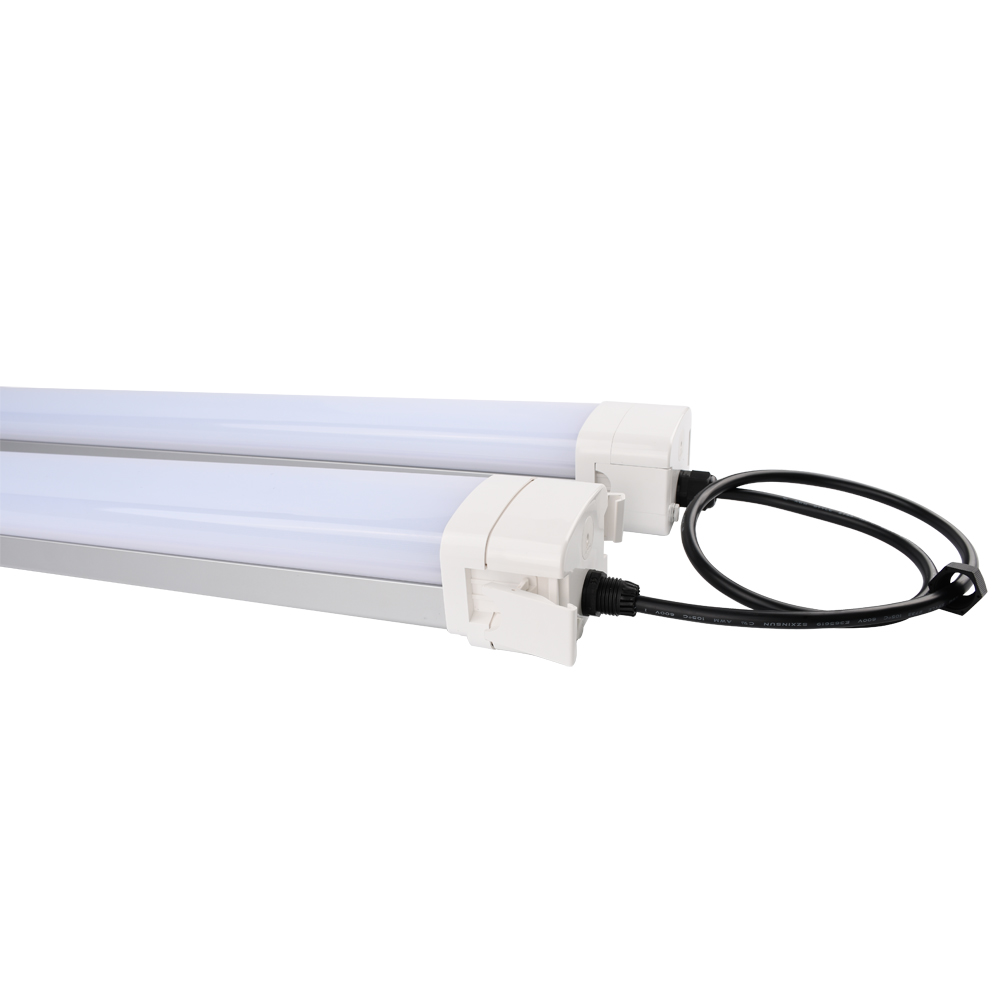
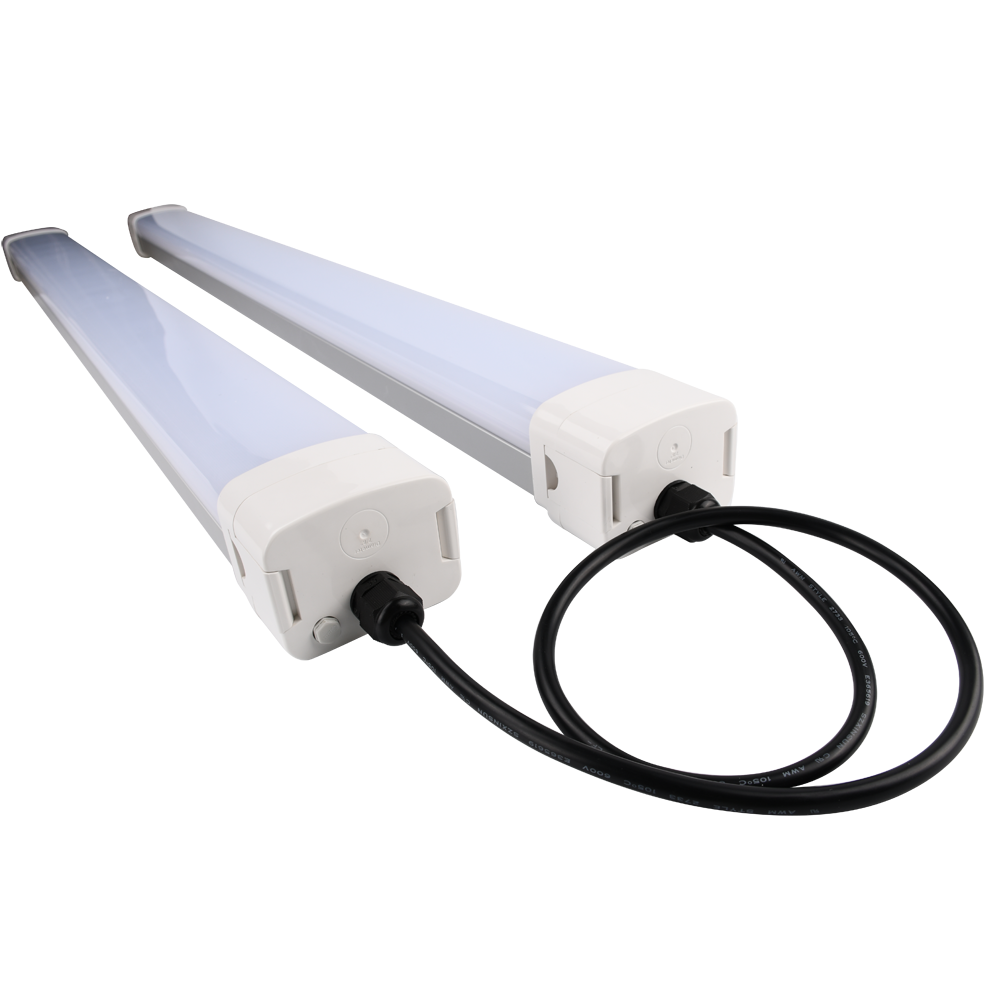
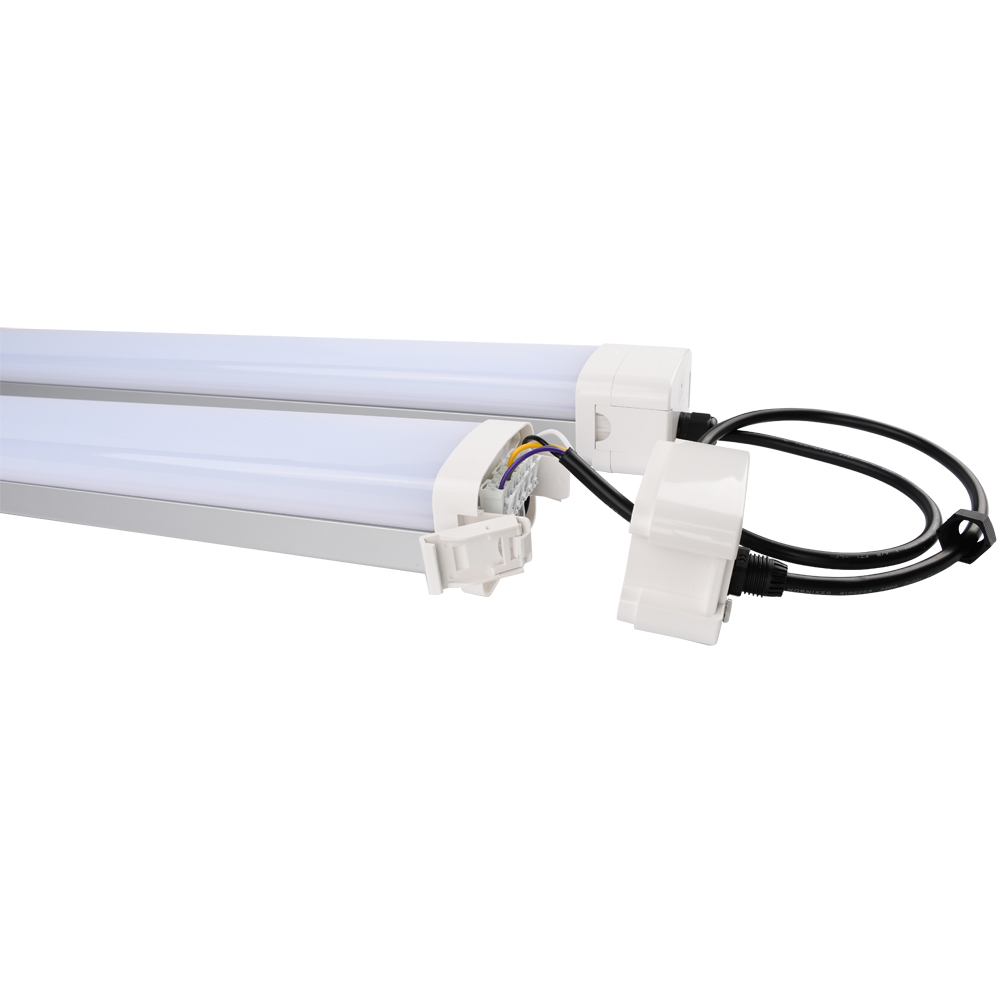
1. There will be two junction boxes on each end of fixture, along with one waterproof connector and one breath kit.
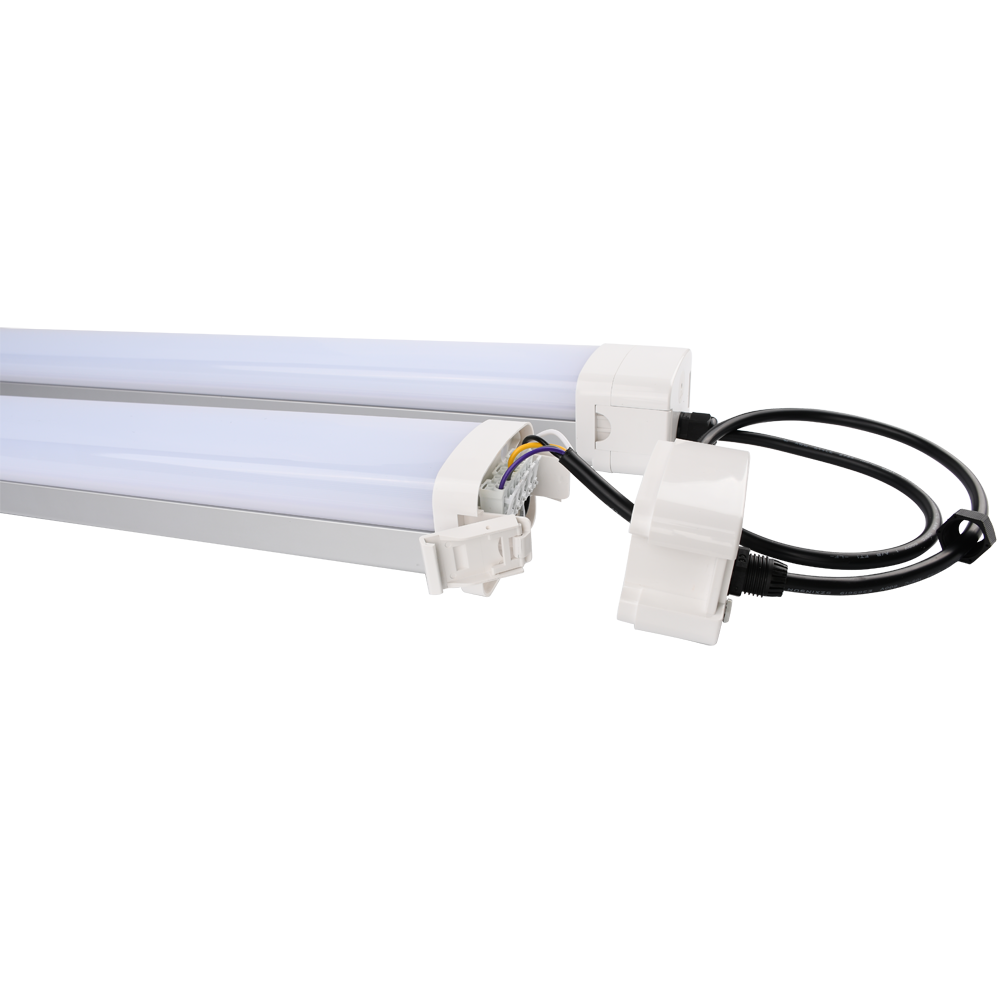
2. Use tools like a screwdriver to open the locker on both sides of the junction box and pull out the junction box from the fixture body.
3. Loosen the endcap of the waterproof connectors and run the wires through the endcap, waterproof connector, and junction box.
4. Connect the wires to the quick connector: black wire to L, green wire to G, white wire to N, purple wire to dim+, and gray wire to dim-.
Relock the junction box and screw on the end cap of the waterproof connector.

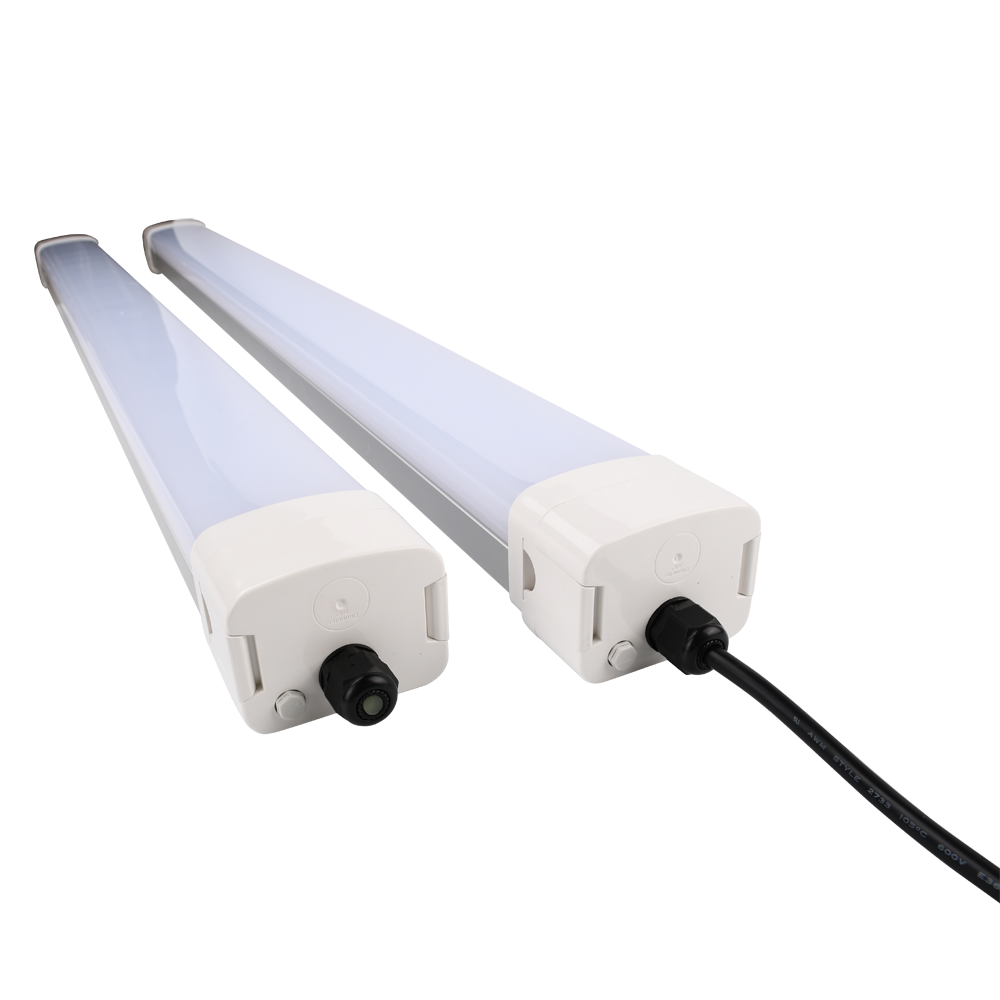
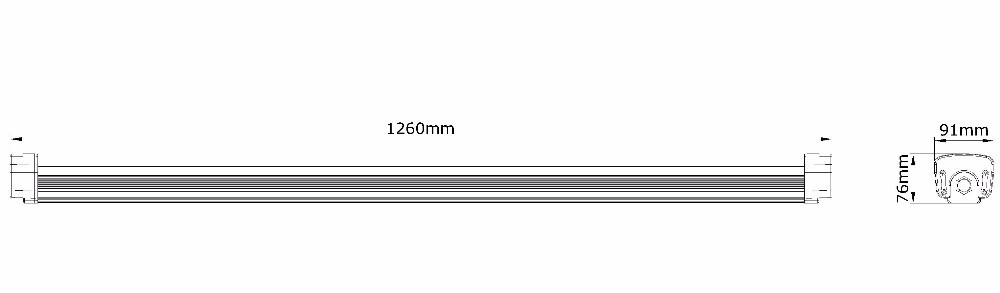
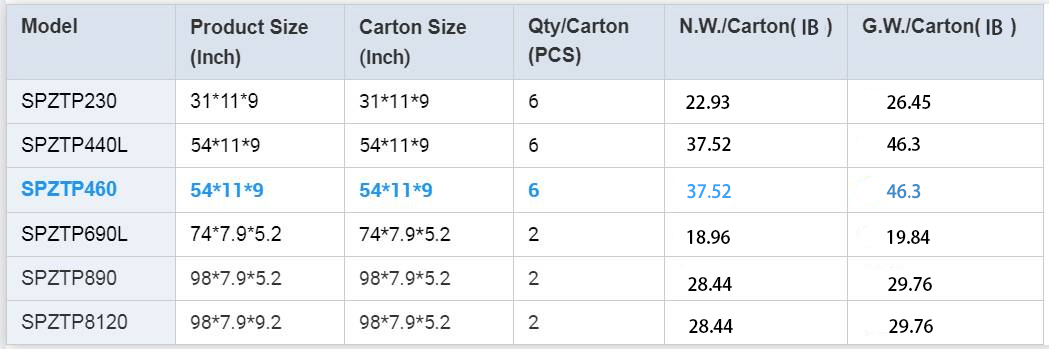
| Model | LED | Watt (W) | Input Voltage | Lumen (Lm) | IP Rate | Size (Inch) |
|---|---|---|---|---|---|---|
| SPZTP230 | Epistar | 30 | 100-277V / 100-347V | 4800 | IP65 | 23.6 * 2.36 * 3.54 |
| SPZTP440L | Epistar | 40 | 100-277V / 100-347V | 6400 | IP65 | 47.2 * 2.36 * 3.54 |
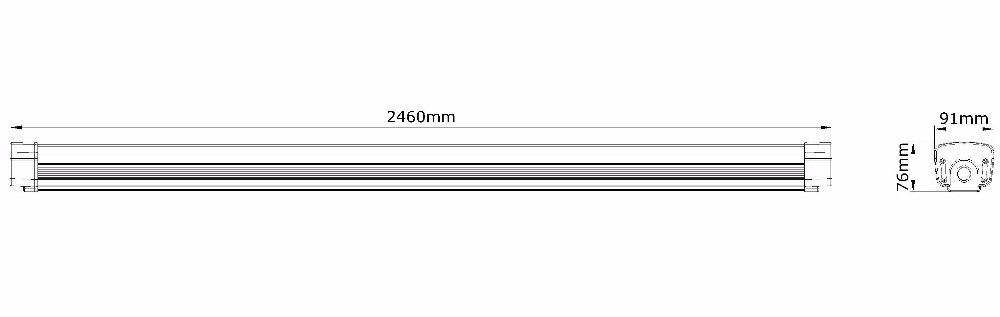
| SPZTP460 | Epistar | 60 | 100-277V / 100-347V | 9600 | IP65 | 47.2 * 2.36 * 3.54 |
| SPZTP690L | Epistar | 90 | 100-277V / 100-347V | 14400 | IP65 | 70.8 * 2.36 * 3.54 |
| SPZTP890 | Epistar | 90 | 100-277V / 100-347V | 14400 | IP65 | 94.5 * 2.36 * 3.54 |
| SPZTP8120 | Epistar | 120 | 100-277V / 100-347V | 19200 | IP65 | 94.5 * 2.36 * 3.54 |